“How To” Make Our Burlap Christmas Tree Craft Class Project
Considerations for this craft project:
1. Easy! Every skill level needs to be able to complete the craft
2. Options! I made sure that you would have lots of options to make the burlap Christmas tree just your own style.
3. Price! The craft materials need to be reasonably priced for every budget.
4. Location! Availability of craft materials (location of store needs to be convenient for everyone.
5. Time! We need to be able to complete the craft in the allotted amount of time planned
6. Cute! It need to be super-cute!!
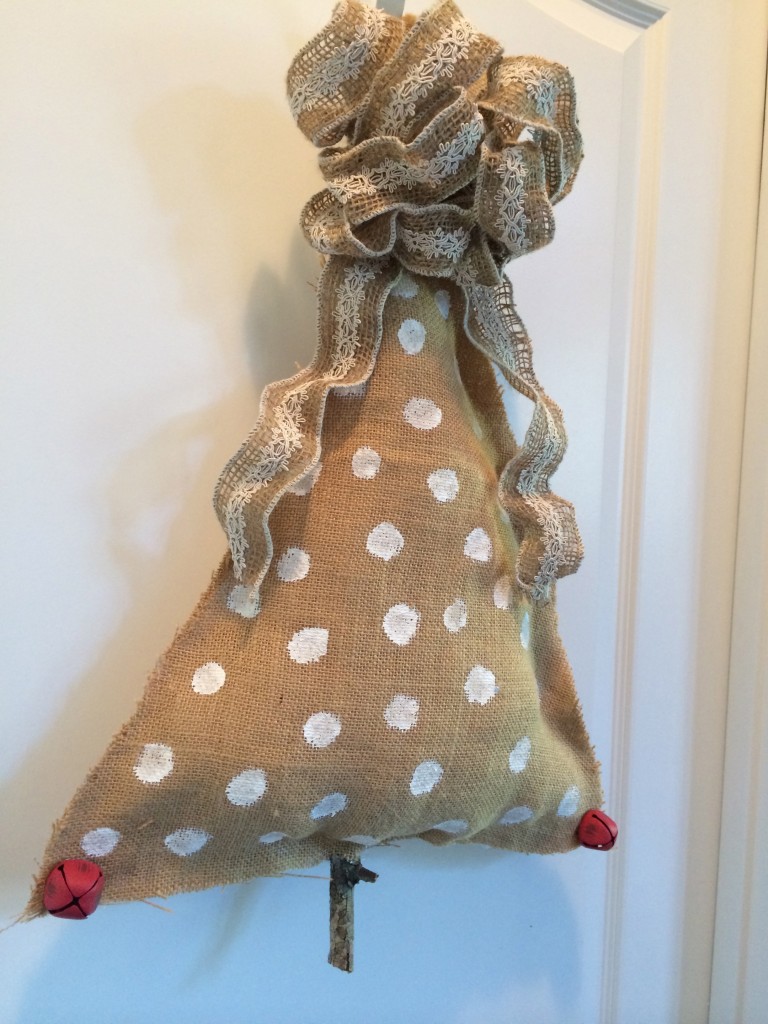
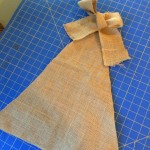
How to make our burlap Christmas tree and different options for making it uniquely your own!
We will make the Christmas tree in our November craft class. I have listed several types of options for your burlap Christmas tree. You can make the burlap tree as basic and plain as you would like or you can dazzle it up as much as you would like to make it all you!
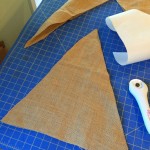
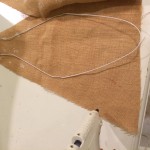
Hanging our burlap Christmas tree options:
- You can hot-glue twine to the back of the burlap tree
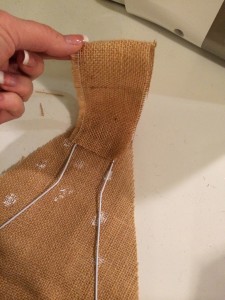
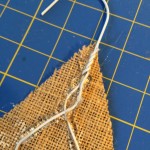
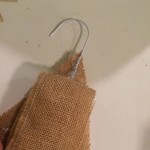
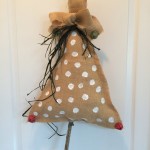
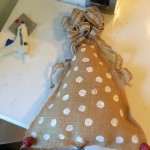
- You can insert a white or brown metal hanger (as shown) inside of the burlap Christmas tree.
- You can cut a piece of burlap and make a loop and then hot-glue the loop onto the back of the burlap Christmas tree.
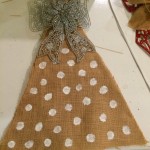
Types of decor to add to the top of your burlap Christmas tree:
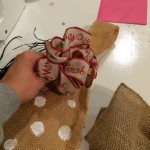
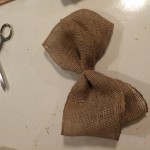
- You can buy a pre-made burlap bow
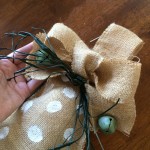
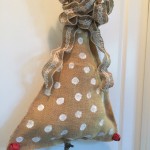
- You can make a burlap bow with me during class (I will teach you)
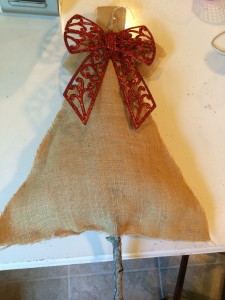
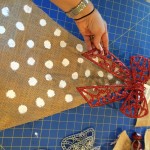
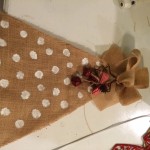
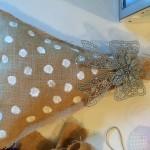
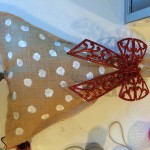
- You can buy a “glittery” pre-made bow (as shown) that I bought at the $1 store.
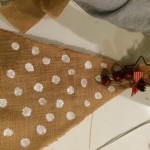
- You can add a wooden pre-made star or fabric pre-made star to the top of the tree
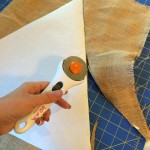
Different types of decor to add to your Christmas burlap tree:
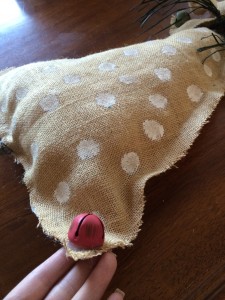
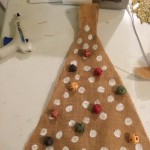
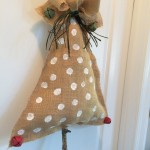
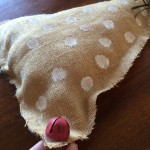
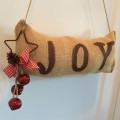
- You can hot-glue jingle bells (as shown) to the burlap tree on the edges or all over it.
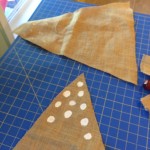
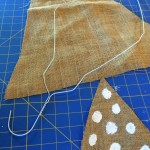
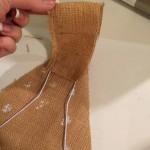
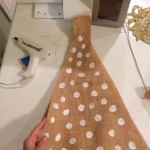
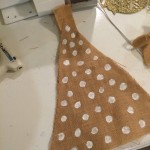
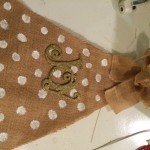
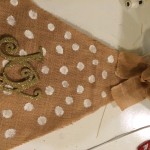
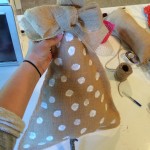
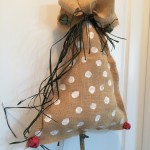
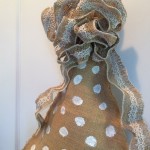
- You can paint white dots (as shown) onto the burlap tree
- You can paint red and green polka dots all over the burlap tree
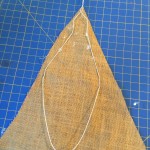
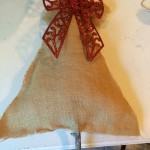
- You can leave the burlap tree blank
- You can paint your initial on the burlap tree in the middle of it
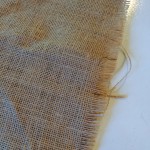
- You can hot glue or tie left-over raffia from our previous project onto the burlap tree (as shown).
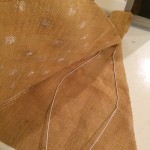
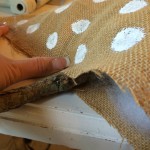
Different types of “Stems” to add to the bottom of your burlap Christmas tree:
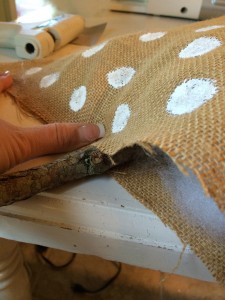
- You can hot glue an actual stick to the bottom of the tree
- You can hot glue a piece of burlap (cut-out a small square)
-
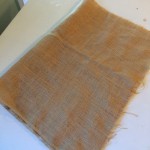
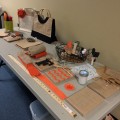
- Burlap
-
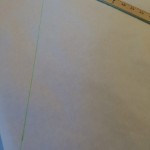
- Marker
-
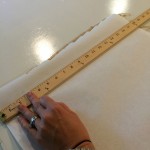
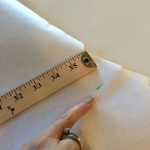
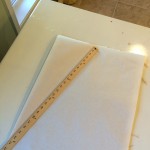
- Ruler or Measuring tape
-
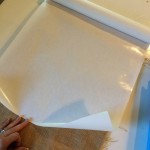
- Freezer Paper
-
- Scissors
-
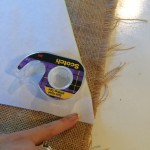
- Tape

-
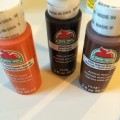
- White acrylic paint for dots
-
- Hanger (Optional)
-
- decorations (optional)
-

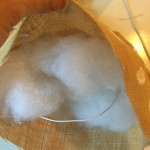
- Pillow filler


Please Share!

Related posts:
 Burlap Christmas Tree – Materials Needed For November Craft Class
 How To Create A Craft Class For A Women’s Ministry
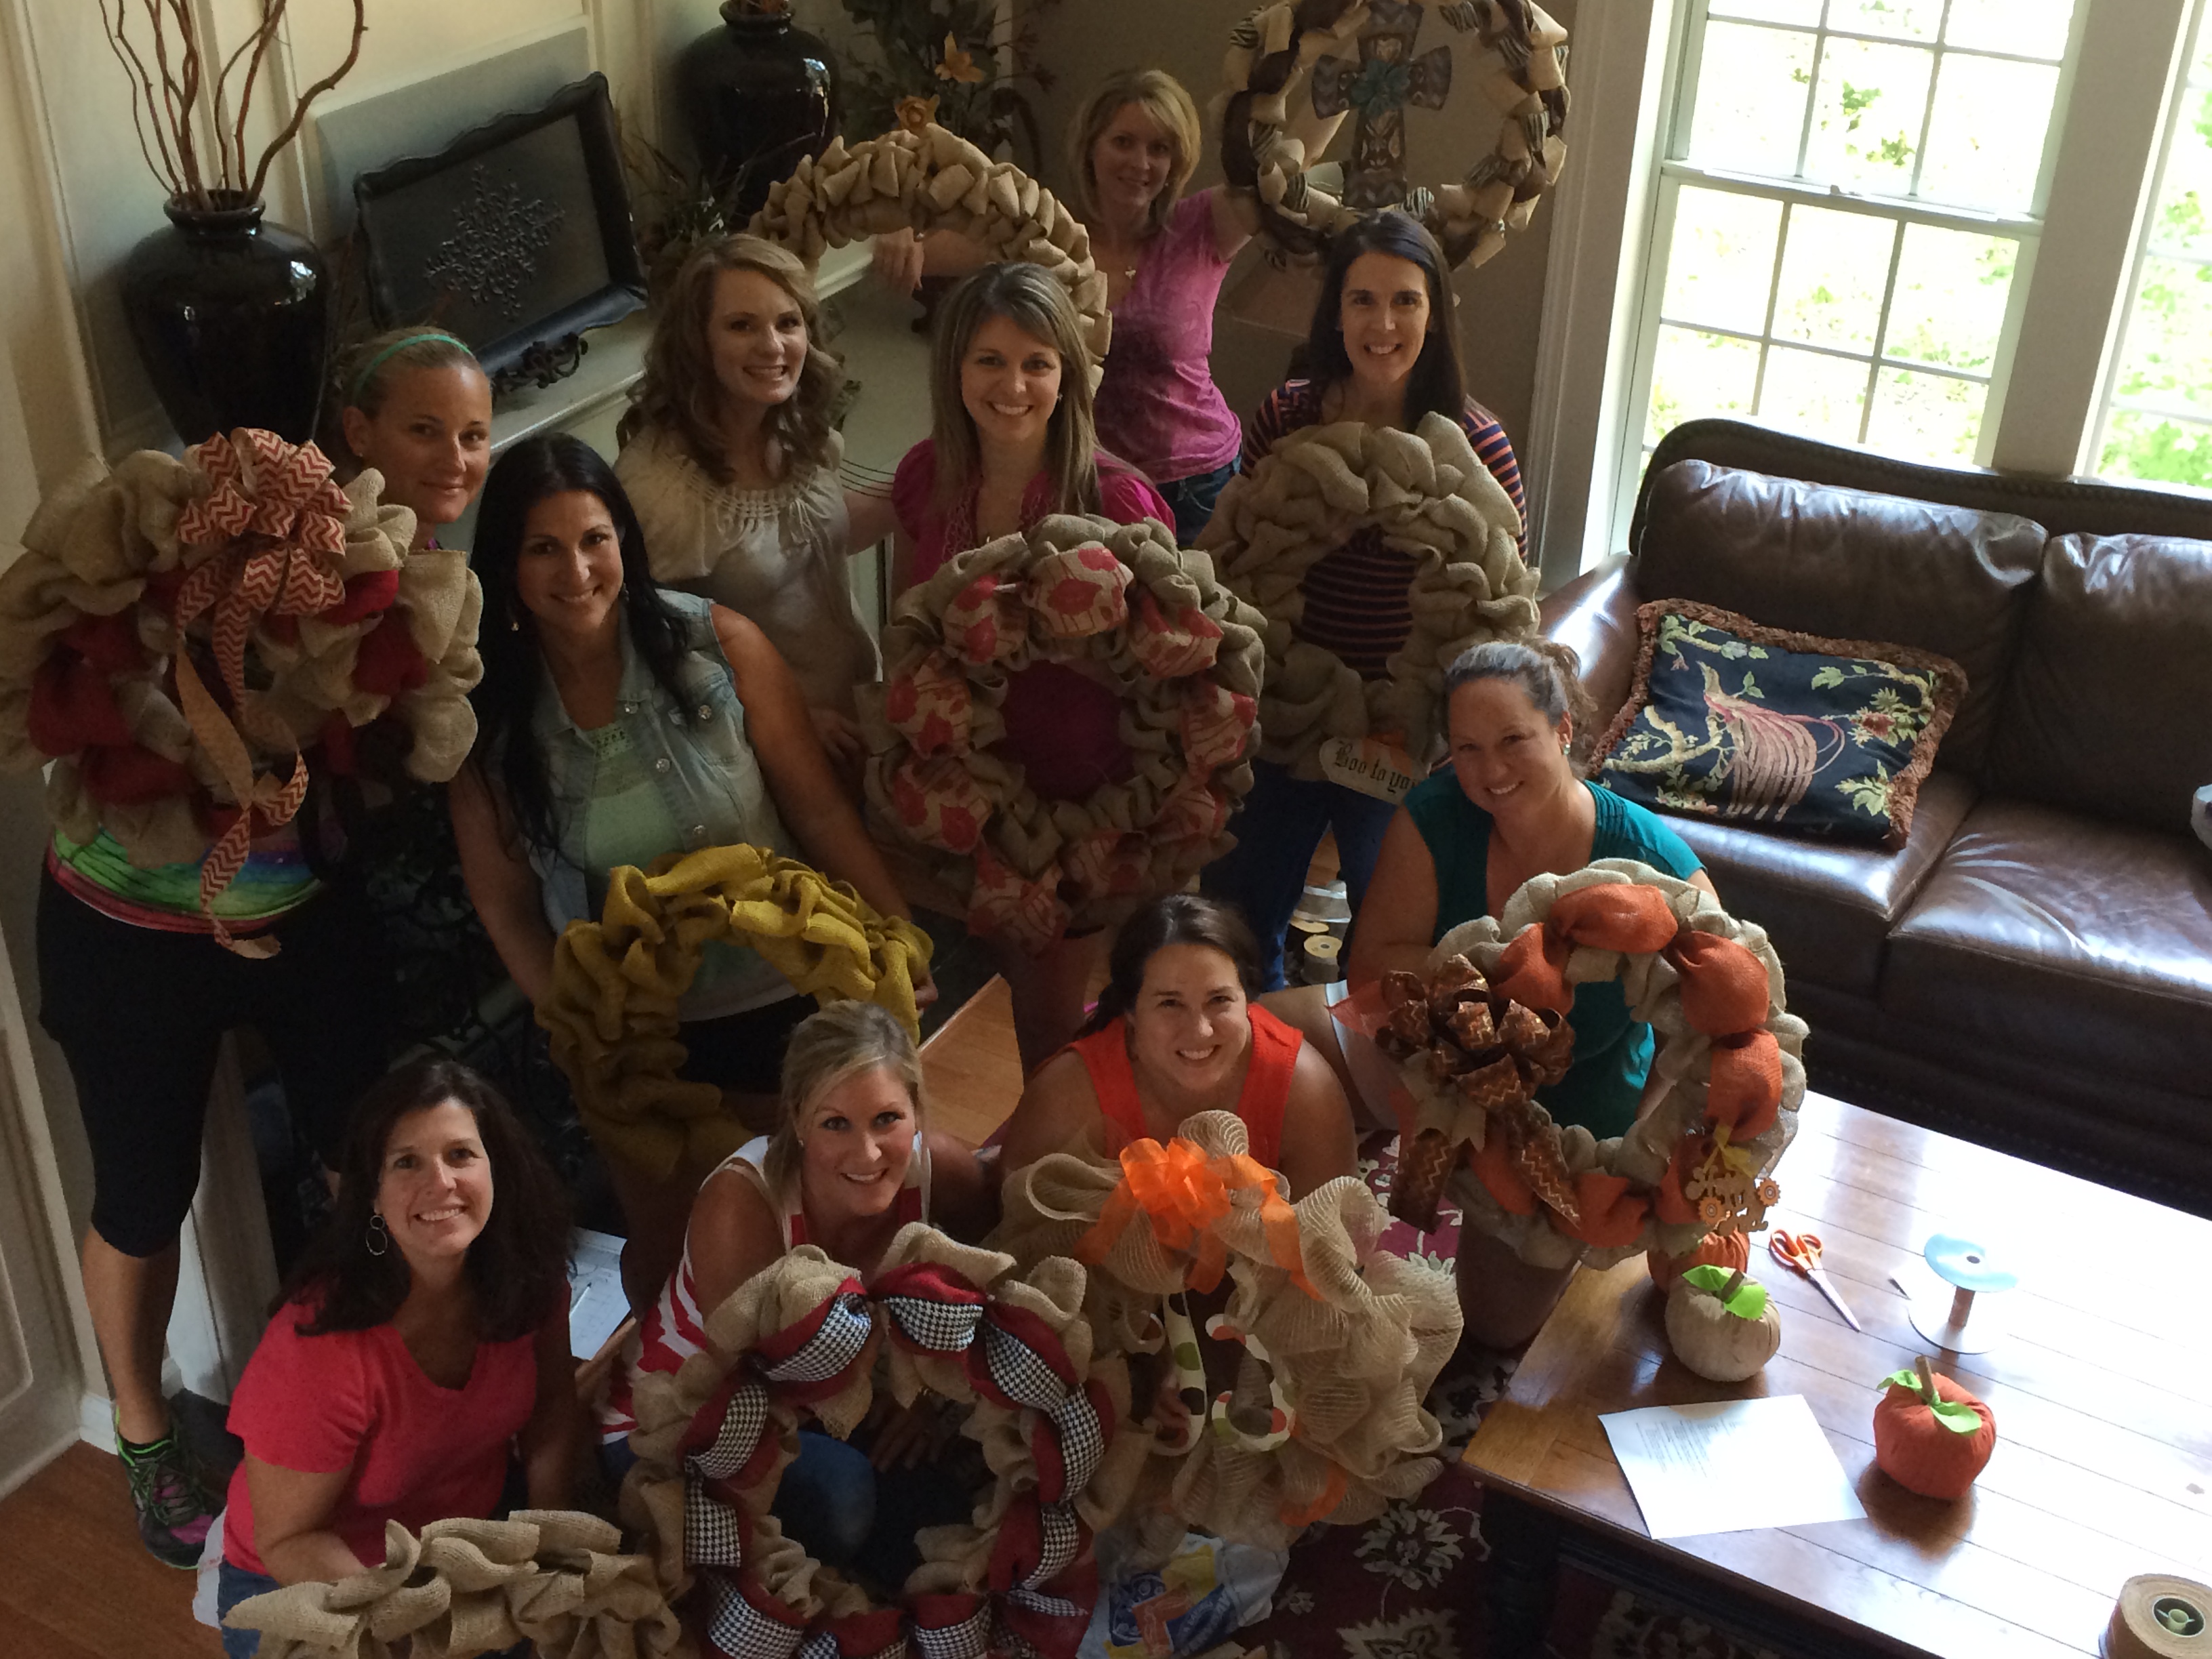
 Moms Making Friends And Growing Our Craft Class
 Overview Of The Mommy Decorates Class
 Mommy Decorates Fall Craft Class
 2014 Craft Class Dates
 Mommy Decorates Craft Class
 Easy Fall Burlap Picture